Note 0083D Printing1 min read
Finishing a 3D print: fill, sand, prime, paint
Why a print leaves the printer with its layers showing, and the hand finishing that turns it into the piece that was drawn.
Every printed piece is built from layers, and when it comes off the printer you can see them: fine lines around the whole surface, and marks where supports held it up while it printed. For a part that goes inside a machine, that is fine. For a piece people will look at, it is the start of the work, not the end.
Removing supports
Parts of a piece that overhang are printed on temporary supports, which are taken off by hand once the print has cooled. Where they touched, the surface is cleaned up before anything else.
Filling
Gaps, the seams where sections were joined, and the steps between layers are filled with a filler that can be sanded smooth. On a large model printed in several parts, this is where the joins disappear.
Sanding
The piece is sanded, starting coarse and moving to finer grits, until the layer lines are gone and the surface is even. It is slow, careful work, and it is most of what separates a printed look from a finished one.
Priming
A coat of primer shows up every mark the sanding missed, gives paint something to grip, and makes the surface one even colour. A piece often goes back and forth between primer and sanding more than once.
Painting
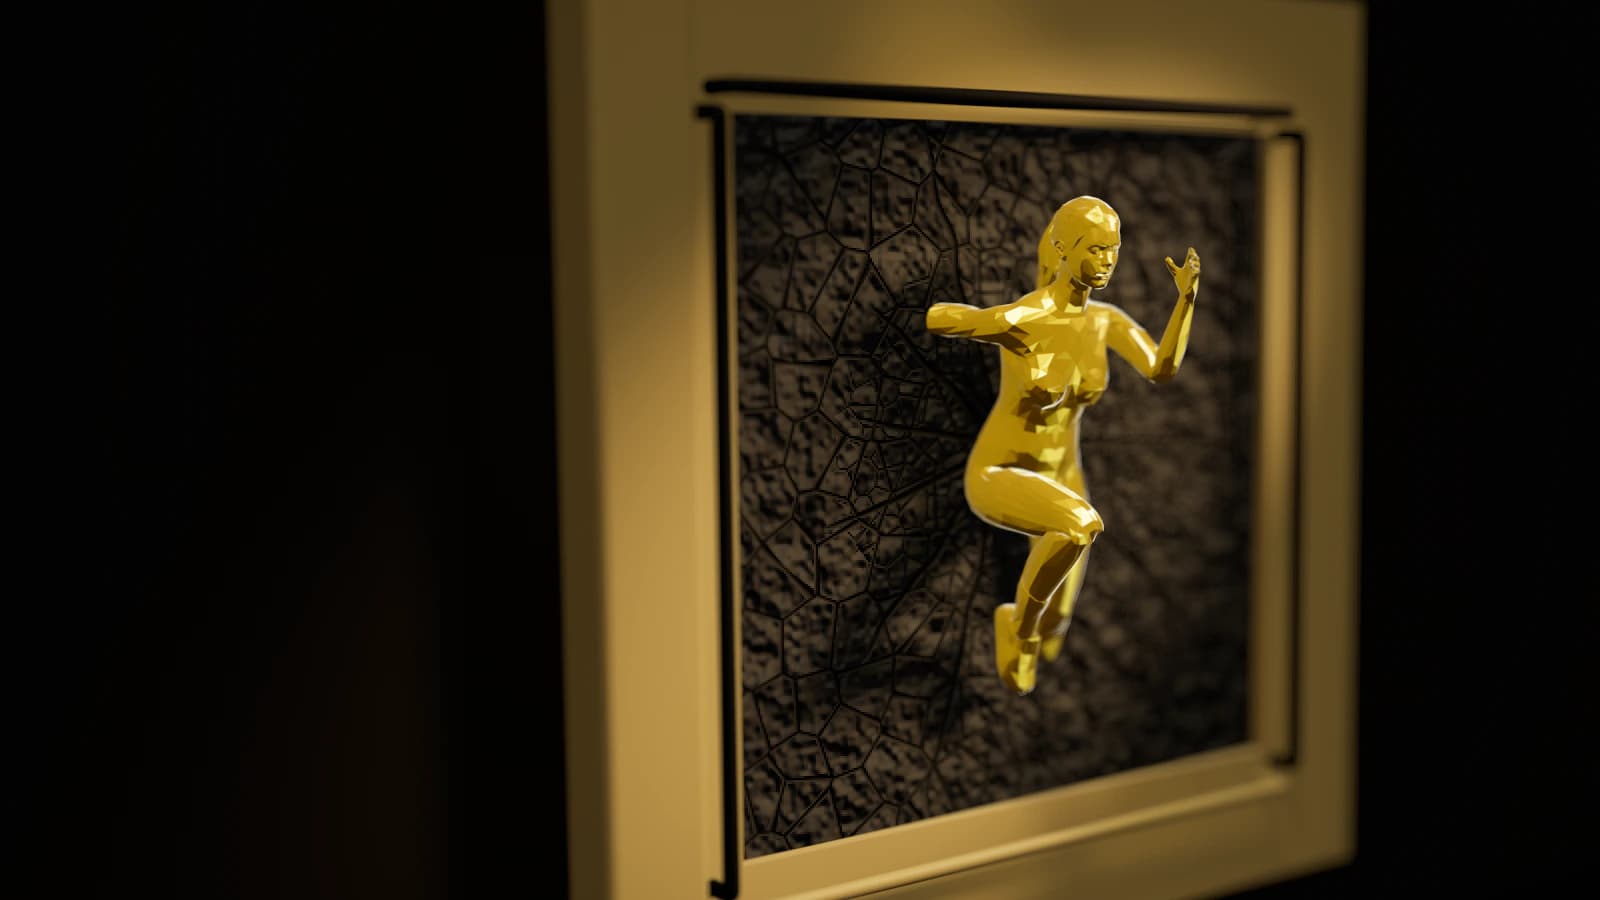
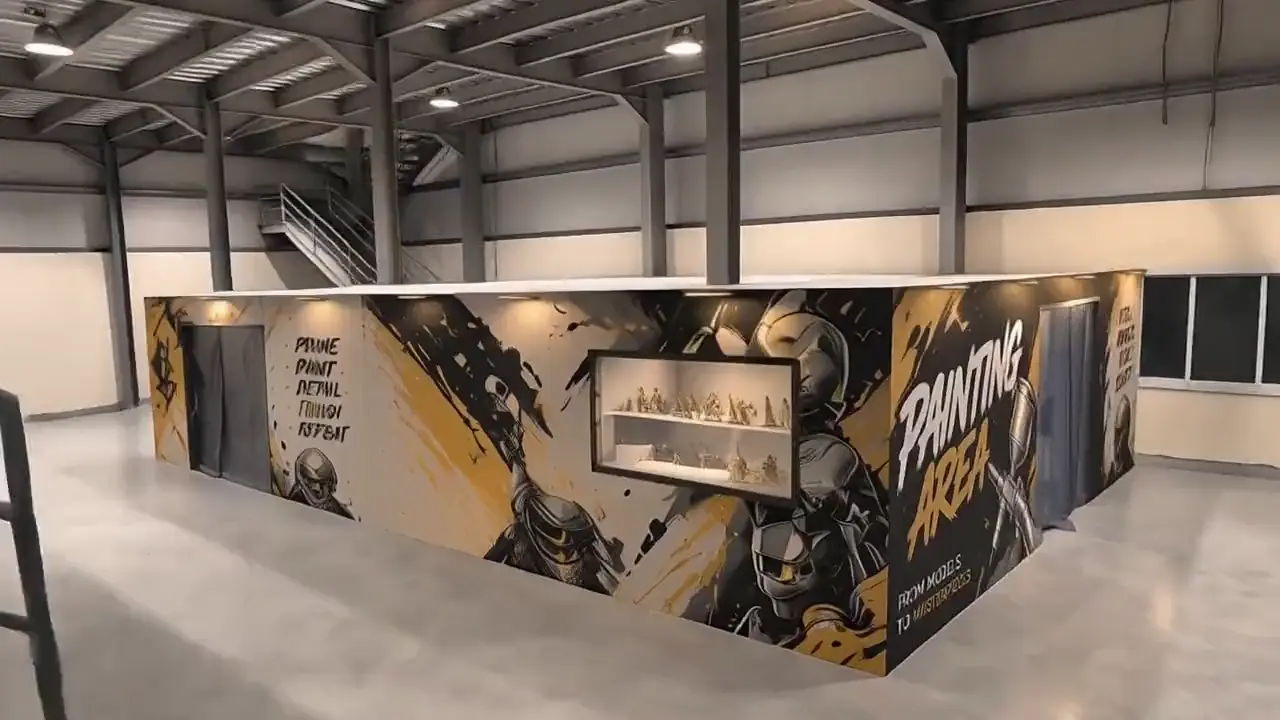
Finally the piece is painted by hand, in a single colour, a metallic finish, or many colours and fine details on a figure or a mascot, and sealed where it needs protecting.
A print leaves the printer with its layers showing. It leaves the studio looking like the thing that was drawn.
Finishing takes time, and most of it is by hand, which is why it is part of the quote from the start rather than an extra at the end.
Follow the studio
The work in these notes, as it is made: pieces off the printers, systems going live.